First Time Setup
Version Sept. 18, 2020
How to add your business location and policies to your new account.
Before you can begin adding reservations or appointments to your virtual queue, you must complete a quick business setup step on your first login. This guide let's you know what to expect on your first login and how to complete this account setup.
It helps to log in to your account in a separate window to follow along.
At a Glance
- Log in
- Verify Email Address
- Purchase License Key
- Link Key to Account
Step 1 : Log In to Your Account
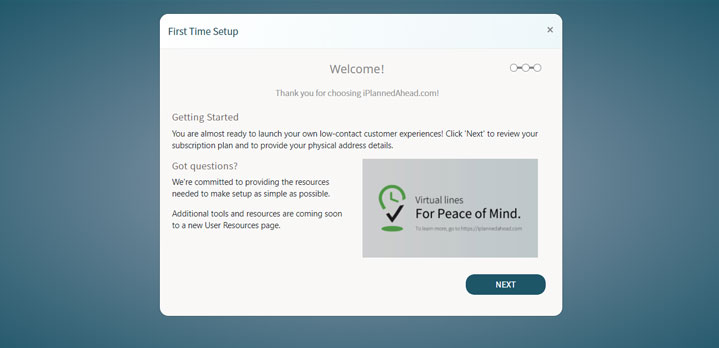
If you have completed the steps in our Getting Started Guide, you should be able to access a verified account or free trial. When you log in to an account for the first time, a pop up guide will appear and walk you through how to save your default location details.
All other features are locked until this initial setup is complete.
Step 2 : Review Your User Details
The first slide provides your account information for review. This will include your trial expiration date, username, and related user information. You can make changes to this information from your account settings page once your initial setup is completed.
Step 3 : Provide Your Default Location Policy
The second slide provides a form requesting details of your business address and your default check-in policy. The policy is just a set of instructions that get sent to your guests along with their notifications.
Once your initial setup is complete, you can add as many check-in policies as needed to accommodate different requests and to standardize your check-in notifications.
Step 4 : Submit Default Location Policy Form
Upon successful form submission, a success message will appear and you will be prompted to reload the page. Doing so will clear the pop up guide and allow you to begin adding appointments or reservations to your queue.